(also referred to affectionately by the production team as “The MushZoom”)
WARNING: The pages contains spoilers for the fifth and final piece of the Remotely Kyōgen program, MushZoooms 2.0.
Thank you for checking out this page! Whether you’re stopping by after seeing the show or you like to enjoy your theatre knowing all of the behind-the-scenes beforehand, we know that people were bound to be curious about the what was perhaps the biggest creative challenge for the costume team. Costume designer, Isabella Dixon is here to tell you all about it!
MushZooms 2.0 follows the traditional structure of a kyōgen, but takes place very much in the here and now, our modern Zoom-scape! It follows a woman who works from home, who is having some… mushroom-y problems with her Zoom. She contacts a Zoom I.T. specialist, who tries to get rid of the invading mushrooms, but eventually provokes into existence The MushZoom! Dun dun DUN!
This show was a particular challenge to work on. How does one translate a mushroom into a moving being? How cartoony can we go before it loses its frightening quality? How do we construct such a being? Well, our first step was deciding on a mushroom. We landed on the inky cap because it can be a poisonous mushroom and it’s also awfully creepy all on its own! The process for designing began with structure and materials. The paper parasols of Japan are very reminiscent of the structure of the mushroom cap of the inky cap, so that was the first item we settled on. We were able to find a large umbrella that had a similar cone shape and was still sturdy enough to build on. Next we had to figure out the stalk. Attaching our stalk fabric to a wide-brimmed, stiff hat was a stroke of genius on the part of Jessie Hoyhtya. The rest after that was pretty straight forward! I knew I needed to make the cap less rounded, so I padded it out with some polyfill, then covered it with fabric, and attached the dripping bits to the rim. The stalk fabric was stitched and gathered into a tube and then attached to the hat. Next we basically needed to spray paint, so we created a gradient on the stalk using some greys, blacks, purples, and blues, and then did a similar application technique on the cap of the mushroom, but with more black and other dark colors. Finally, I painted on the wisps that would begin to flake off as the mushroom aged, and at last, the MushZoom was complete!
It was a very fun process and getting to play around with it even after we had filmed what we needed was an absolute delight!
– Isabella Dixon
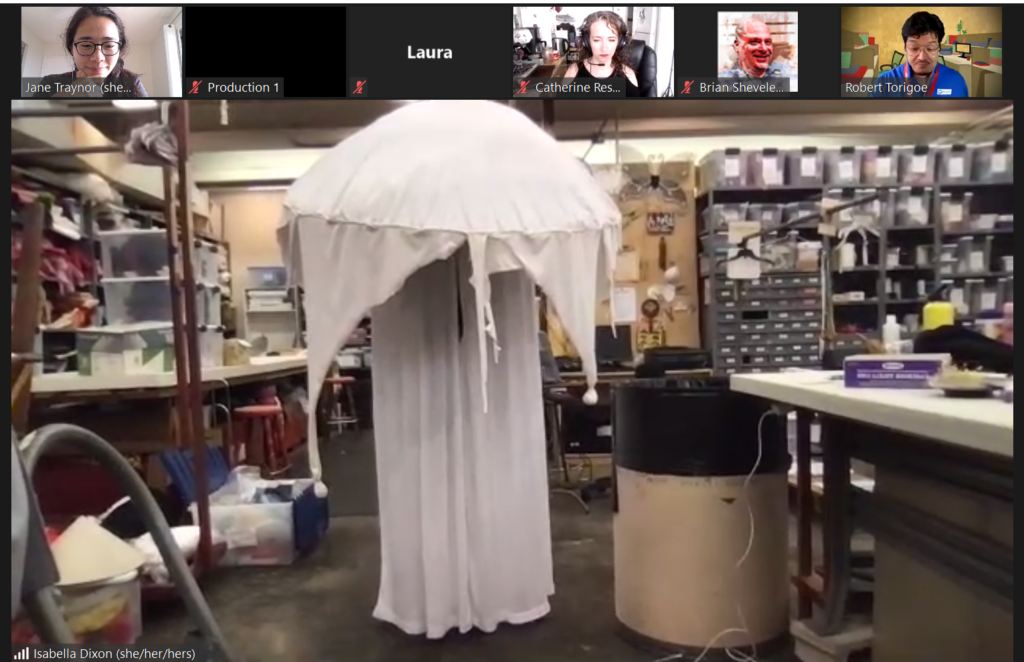
Isabella Dixon shows off the not yet painted Giant Demon Mushroom costume to the MushZooms cast. 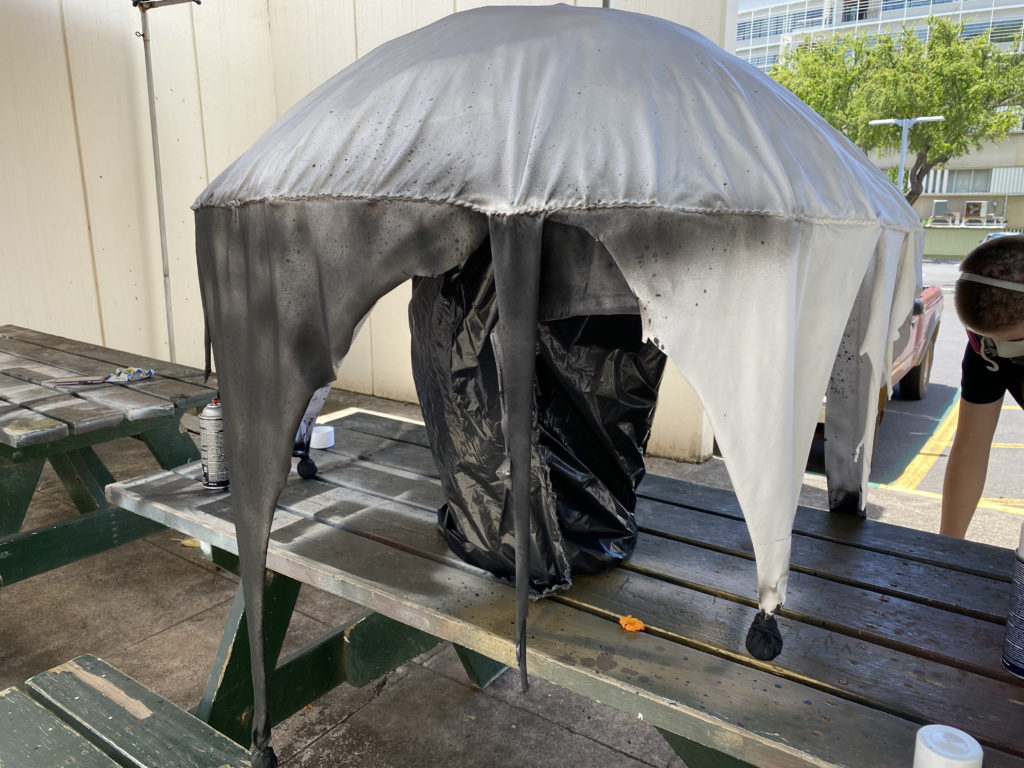
The MushZoom cap getting its first layer of paint. 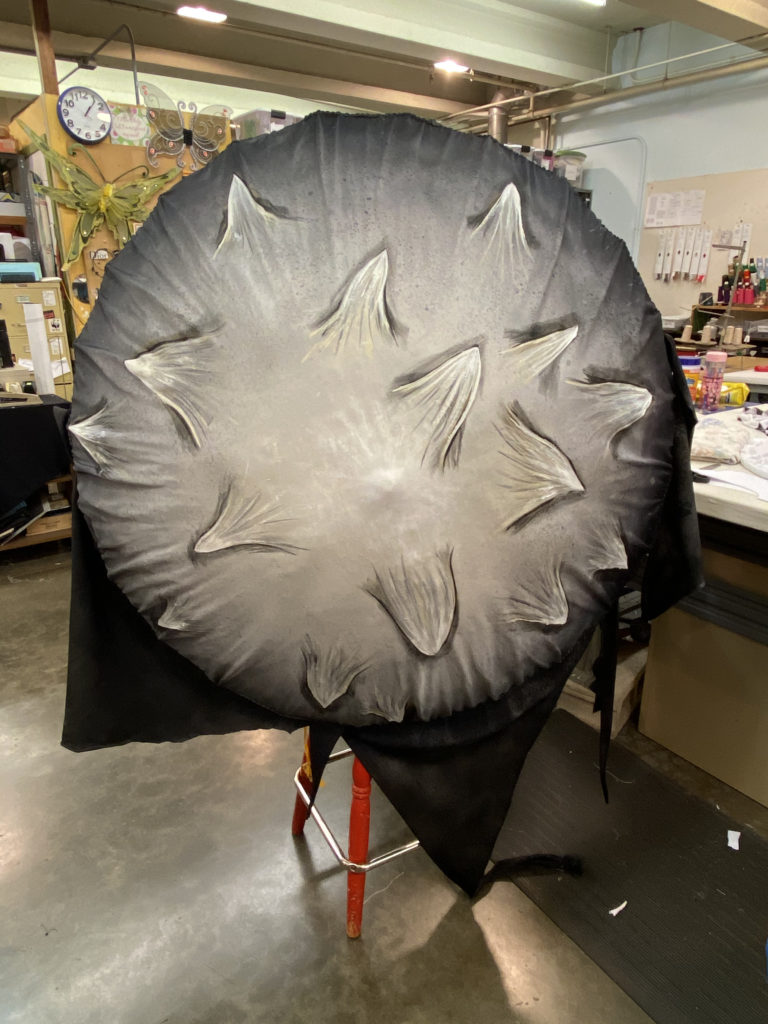
The top of the MushZoom. 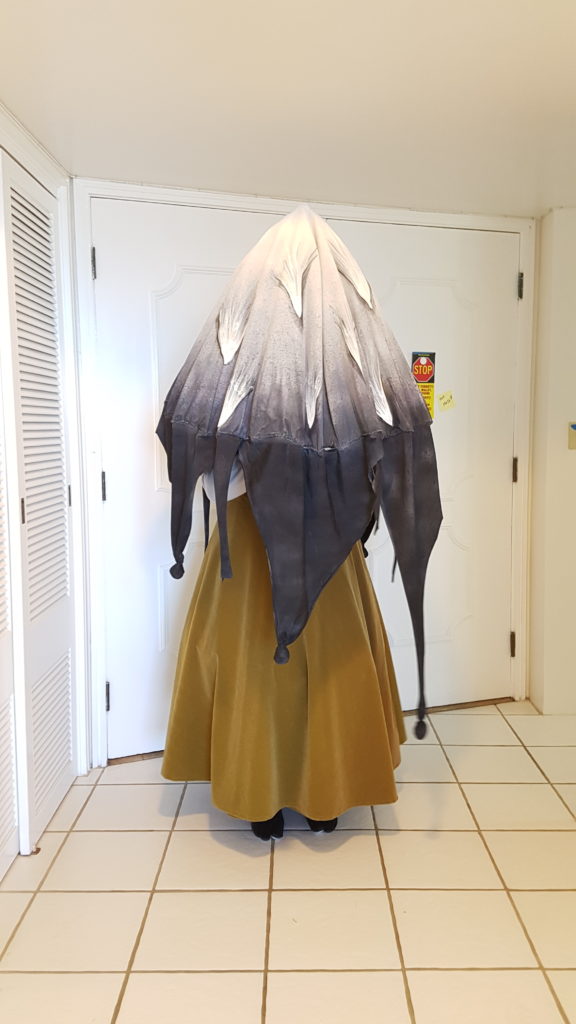
Maggie Ivanova practices with the mushroom prior to filming. 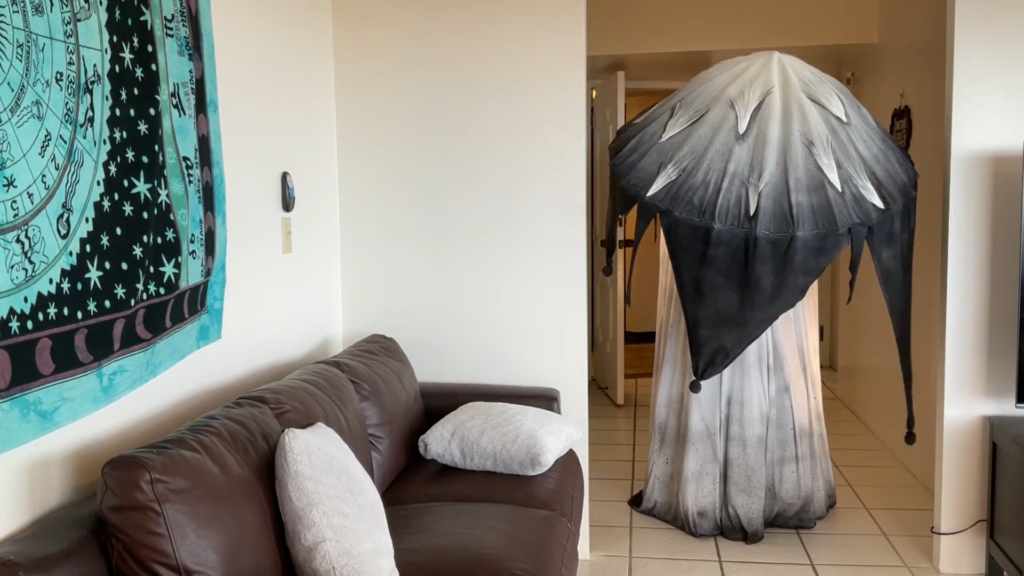
Maggie Ivanova as the Demon Mushroom.
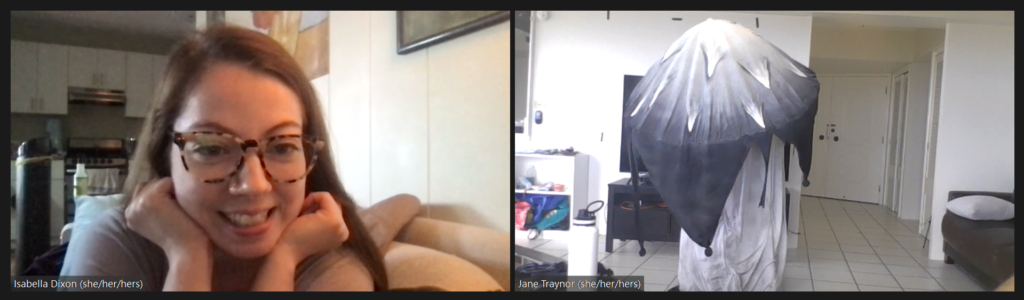
Isabella Dixon does a virtual fitting for Maggie Ivanova as the Giant Demon Mushroom.
BONUS: Please enjoy our behind the scenes short film, MushZoom’s Day Out!